
Necklace (or Carcanet) inspired by the portrait of Mary Boleyn
 by Lady Ydeneya de BaillencourtBackground:Tudor and Elizabethan noble jewelry could, and has, filled a number of books. The nobles wore jewelry on just about any visible surface. In addition to the necklaces, rings, bracelets, brooches, watches, and earrings that we think of as jewelry today, they wore jeweled belts, buttons, points, bilaments., pomanders, fan handles, buckles, knives, sword hilts, mirrors, hat bands, hairpins, shoes, garters, and probably much more.The stone most associated with the period is pearls. Pearls were worn in multiple ropes, alone or combined with other beads, metals and jewels in clusters, sewn on the edges of clothing, and used in jeweled settings. Precious gems were still fairly simple table or rounded cabochon cuts. Because the art of diamond cutting was not very advanced, diamonds were given a black background to make them look better, which is why period portraits often show black stones. Semiprecious stones such as garnets, moonstones, opals, and some others were also used. Glass beads were new and were made in Venice, still a center for fine glass work. They were very valuable and were often combined with precious metals.
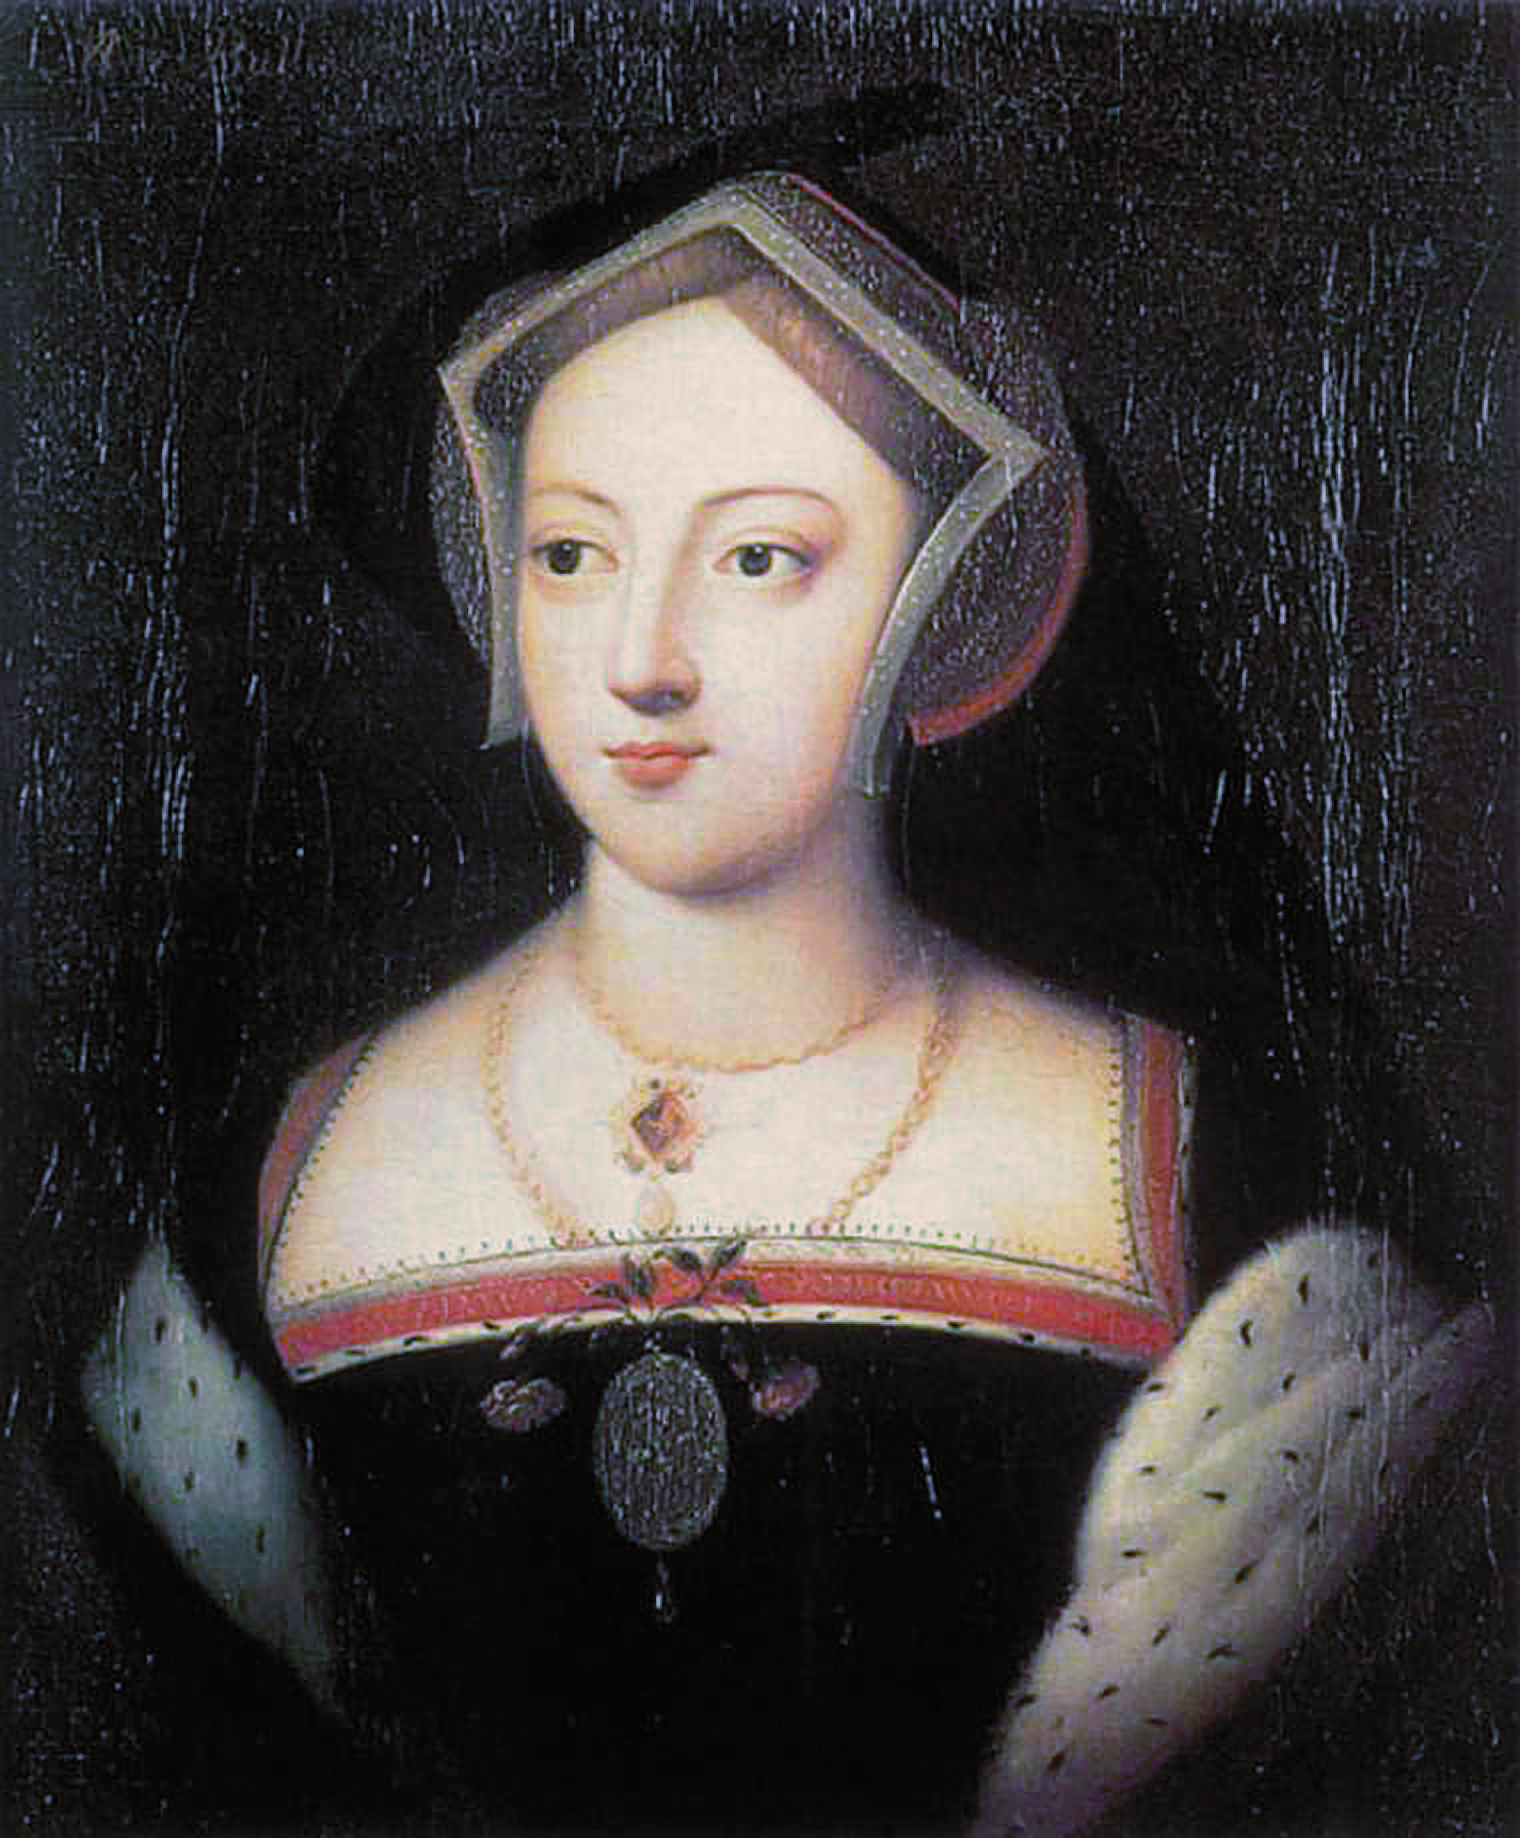
 The word “necklace” was not yet in use. It was called a “carcanet”. There were two main styles. One was the short carcanet which was usually worn around the base of the throat, inside the smock of an open collar or outside a closed collar of a high necked shift or a doublet. They were worn by men and women and usually paired with a longer strand that could be draped up at the centre or side with a brooch. The predominant method of decoration in the period was enameling on gold, to the point that jewels were secondary.Inspiration:The portrait above of Mary Boleyn shows her wearing a beautiful carcanet or necklace. On closer inspection it looks to feature a square centre with a dark stone or perhaps enameling, surrounded by flourishes, and a teardrop shaped drop hangs from the base. The chain has pearls intermingled by gold spacers.
| Materials: |
|
|
| Tools: |
|
|
Method:
| To create the centre of the pendant I attached the 4 filagree swirls to the back of the square using wire. | Jump rings were used to fasten the ends of the flourishes together. | This gave the desired shape of the pendant. |
 |
 |
 |
To create the dark stone for the centre of the pendant I used a squared of thick card cut to the size of the centre square. I first coated the card using clear stamping ink and heat embossed black embossing powder adding layers until it coated the card. I then added a coat of clear ultra thick embossing enamel with a light sprinkle of gold and black added to give detail to the “stone”. I was not entirely happy with the surface of the stone as it is no flat but decided to use it because the uneven texture seemed to me to add a more nature gemstone look. Once cooled I attached it to the centre of the pendant using a strong glue.
Black enamel paint was used to colour some details on each side of the flourishes.
The top and drops were created by threading the various beading elements onto flat headed pins, which were then trimmed and curled into rings and crimped to the pendant.
The necklace was very simply created using the clasp, beading thread ands beads. Originally I simply used the pearls and gold stardust balls but felt it was lacking something, I re-threaded adding the black glass beads and once paired with the pendant it looked more balanced.
Conclusion:
I am pleased with the way the piece turned out. Although it may be a bit bigger in size than the one pictured. I will wear it paired with a longer strand of pearls and will create a complimentary brooch to ad the draped look.
References:
- Deis, Cynthia, Beading with Filigree, Lark Books, New York, 2008
- Doran, Susan, The Tudor Chronicles 1485-1603, Quercus Publishing Plc, London, 2008
- http://www.directcon.net/wander/lizjewel.htm
- http://upload.wikimedia.org/wikipedia/commons/b/b0/Mary_Boleyn.jpg
- http://moas.atlantia.sca.org/wsnlinks/index.php?action=displaycat&catid=985
